As promised! I'm going to show you how to make
these three really easy shirts!
I used a sewing machine to make this shirt, but i guess you could sew it by hand if you had the patience. Also, i serged all the raw edges before sewing, because i hate unfinished edges (
They used to call me anal girl), but this is not necessary if you don't have a serger.
What you will need:

The fabric I used was this kind of stretchy chiffon. If you want to make the shirt tight (like
version 1), I suggest using a stretchy fabric unless you want to insert a zipper - in which case you would have to alter the pattern to accommodate a zipper. If you want to make a wider shirt (like versions
2,
3) you can use a non stretch fabric, but either way the fabric should have a nice fall to it (like chiffon, knit, silk and so on).
Lets get to it!
Fold your fabric two times and place it like in the picture: one fold on the left, two folds at the top.
Measure and Mark:
Neckline: measure how wide you wan your neckline to be from the middle of your neck - outwards, I made it to be 10 cm all around. Mark this along the Green lines.
Sleeves: measure how long you want your sleeves to be, from the middle of your neck along the shoulder and arm. Mine was 26 cm. Mark this along the Blue line.
Length of shirt: measure how long you want your shirt to be from the middle of the neck, down. I made it to be 56 cm. Mark this along the Red line.
Now, connect number 1 to 2 and 3 to 4 with curved lines to create the circle shirt.
Once you cut the fabric it will look like this:
Next you have to decide what kind of shirt you want to make. I ended up making the SJP version (version 3) but they're all easy to do.
Version 1:
Hem the whole bottom of the shirt (the larger circle)
Fold fabric into quarters (as pictured above), measure the width of your hips and divide by 4 add 0.5 an inch. When you spread the fabric out, the markings will be half of the hip circumference apart (with 1 inch ease) like this:
Sew a line about 20 cm up (wrong sides of fabric together), these will be your side seams.
This is basically what your shirt looks like.
Hem the neckline and your shirt is finished!
Version 2:
This is basically the same as version 1, only you have to sew the side seams in a slant
This will make the shirt wider.
Version 3:
This is a little more difficult. But not that much. Really.
Measure 15 cm and
mark along the red line. This will be the sleeve hole.
Measure 1/4 hip circumference and add 5 cm,
mark this along the blue line.
Open the fabric up and sew between the pin marks:
Sew the two layers between 1 and 2. 3 and 4 (right sides of fabric together).
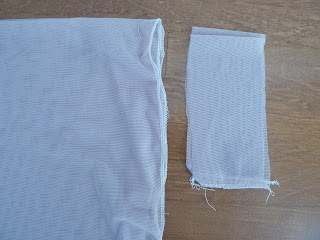
Next we'll create the sleeves, cut two strips 16 cm (1 cm seam allowance) long and however wide you want (I made them 10 cm), attach the short side of the strips to create tubes that are 15 cm long (Minus the seam allowance).
Fold the tube lengthwise (so that the tube has one side on the fold and the other is two raw edges) and attach the raw edges of the tube the the sleeve hole we created before.
Next, hem the neck hole and the bottom hem and you have your shirt!
What do you think? Will any of you try this?
as this is my first tutorial, I'd love to hear if it was easy to follow and understand and if the pictures were detailed enough. Thanks for reading!
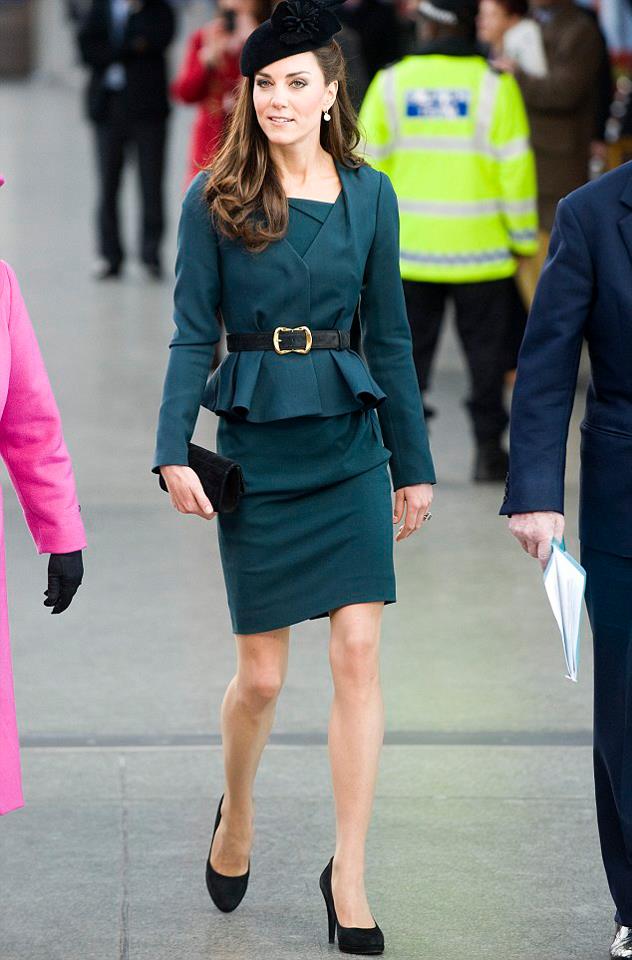
So, FINALLY the picture of the shirt!
For the full post on the project click
here.


