
This is the first installment of the Monthly Pattern of Choice! I'm really excited about this. As to all the reader who voted - thank you so much for your input!
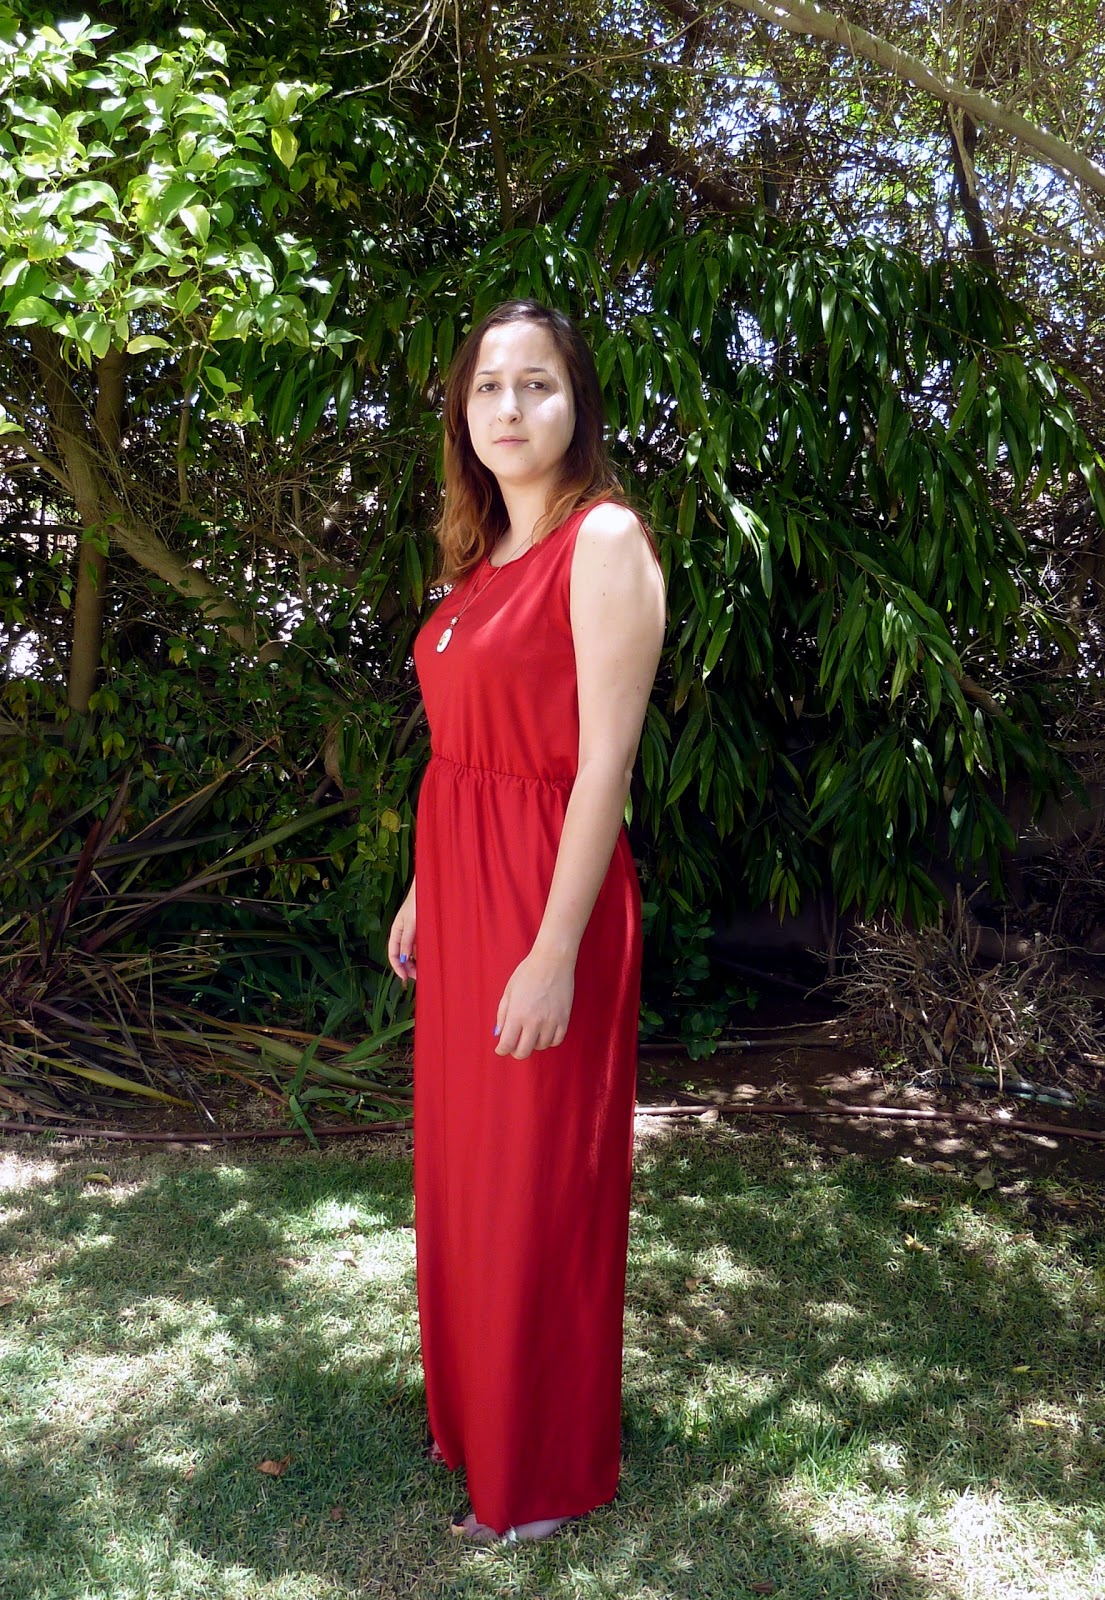
Lets make the Summer Night Stroll Dress!
This is my version!

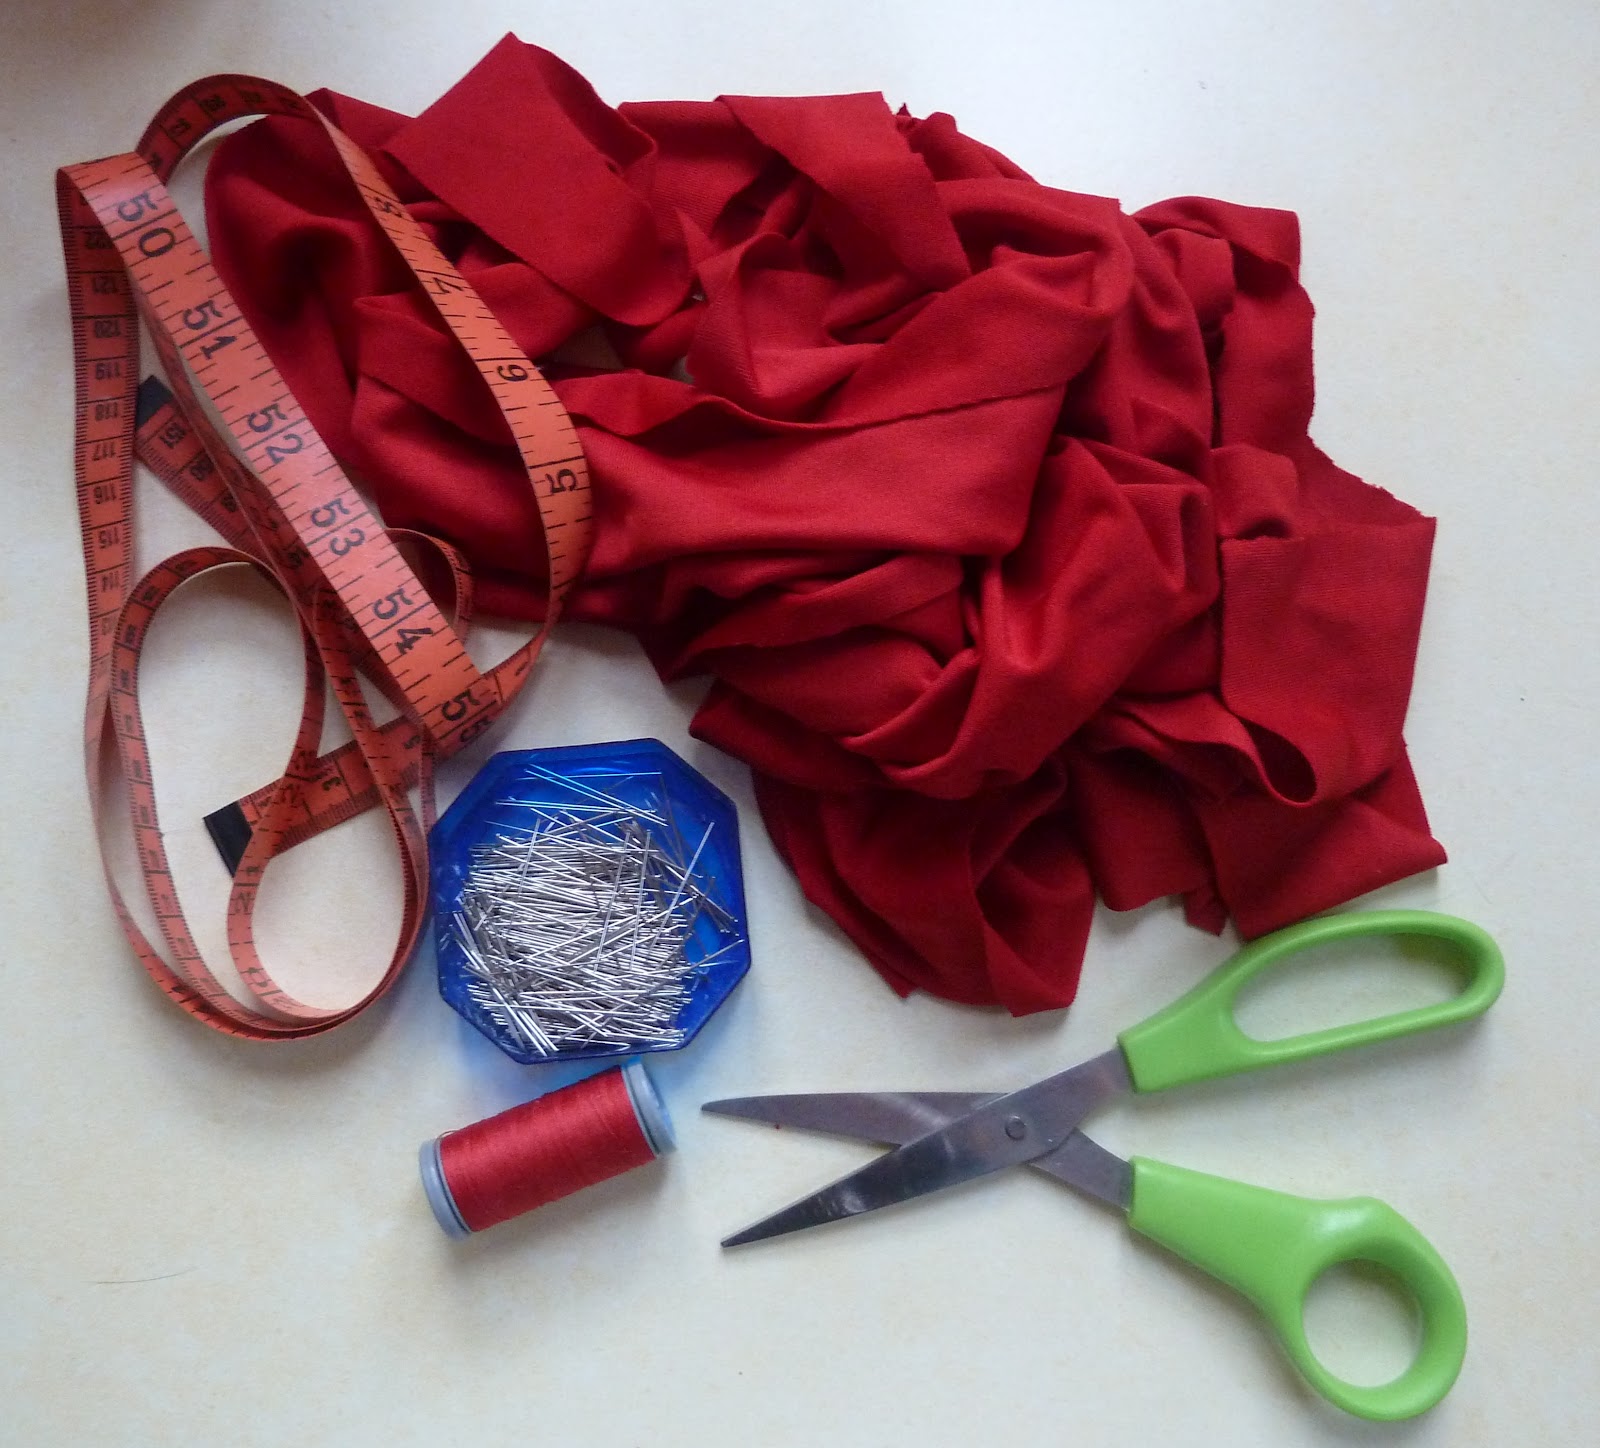
What you will need:

Fabric. I used about two yards, but you might need more if you're taller. Also, your fabric should have a stretch quality to it otherwise the drape won't be as nice.
Pins, scissors, matching thread, measuring tape and elastic.
I suggest using a plain bodice pattern, or maybe use a basic shirt pattern like this:

This is the Lydia pattern from Burdastyle. (obviously you don't need the sleeves for this tutorial)
I won't go into this now, but I really do believe every sewer should have a bodice that is made to their exact measurements. This making pattern drafting a lot more easier.
We're going to need to modify the pattern a bit to make it less fitted. If you're using a bodice pattern or any other pattern with pleats you can just ignore them.
Increase the armhole by two inches, decrease the shoulder by two inches, adjust the side curve to a straight line and shorten your pattern to about two inches underneath the waistline.
 The blue pattern is the original pattern, the purple lines are the adjustments.
This is what the fabric looks like as oppose to the original pattern:
 I do suggest making a new pattern rather than making the adjustments on the fabric. I made a new pattern as well, the image above is only for demonstration purposes.
This will be the top part of your dress.
Before we cut the bottom of the skirt let's take some measurements.
Measure:
1) Your waistline circumference
2) The distance between your waist and the length of your skirt. (this essential will be the length of your skirt, so the length is completely up to you)
Cut a rectangle on the fold
1) The top of the rectangle will equal the circumference of your waist (as is it on the fold, the skirt will be twice the width of your waist)
2) The long part of the rectangle will equal the length of your skirt.
Stitch the long part of your rectangle thus creating a tube (this will later become your skirt)
Baste the top of the skirt with basting thread: (I used regular white thread, no judgement)

Pull the thread and gather the fabric to fit the width of the top pattern. (As you can see in the original picture of the dress, the bottom part of the dress is more gathered than the top, this is why we made the skirt wider than the top and gathered it before inserting an elastic)

Pin the bottom piece and the top right side together and stitch about an inch from the edge (depending on the width of you elastic).
Use this tutorial by the lovely Andrea from Four Square Walls to insert the elastic to the dress.(I used it!)
Now all that is left is to hem the neckhole, armholes and bottom hem and voilla! You're done!

Lets make the Summer Night Stroll Dress!
This is my version!

What you will need:
Fabric. I used about two yards, but you might need more if you're taller. Also, your fabric should have a stretch quality to it otherwise the drape won't be as nice.
Pins, scissors, matching thread, measuring tape and elastic.
I suggest using a plain bodice pattern, or maybe use a basic shirt pattern like this:
This is the Lydia pattern from Burdastyle. (obviously you don't need the sleeves for this tutorial)
I won't go into this now, but I really do believe every sewer should have a bodice that is made to their exact measurements. This making pattern drafting a lot more easier.
We're going to need to modify the pattern a bit to make it less fitted. If you're using a bodice pattern or any other pattern with pleats you can just ignore them.
Increase the armhole by two inches, decrease the shoulder by two inches, adjust the side curve to a straight line and shorten your pattern to about two inches underneath the waistline.

This is what the fabric looks like as oppose to the original pattern:

This will be the top part of your dress.
Before we cut the bottom of the skirt let's take some measurements.
Measure:
1) Your waistline circumference
2) The distance between your waist and the length of your skirt. (this essential will be the length of your skirt, so the length is completely up to you)
Cut a rectangle on the fold
1) The top of the rectangle will equal the circumference of your waist (as is it on the fold, the skirt will be twice the width of your waist)
2) The long part of the rectangle will equal the length of your skirt.
Stitch the long part of your rectangle thus creating a tube (this will later become your skirt)
Baste the top of the skirt with basting thread: (I used regular white thread, no judgement)

Pull the thread and gather the fabric to fit the width of the top pattern. (As you can see in the original picture of the dress, the bottom part of the dress is more gathered than the top, this is why we made the skirt wider than the top and gathered it before inserting an elastic)

Pin the bottom piece and the top right side together and stitch about an inch from the edge (depending on the width of you elastic).
Use this tutorial by the lovely Andrea from Four Square Walls to insert the elastic to the dress.(I used it!)
Now all that is left is to hem the neckhole, armholes and bottom hem and voilla! You're done!

So flattering, and I love it with the cardigan! Maxi dresses are the best.
ReplyDeletesewcollegiatechristine.blogspot.com
Thanks for the tutorial! I will have to try this when I am brave enough to work with knits.
ReplyDelete